Creating a website is an essential step for individuals and businesses looking to establish an online presence. Among the various website-building platforms available, WordPress stands out as one of the most popular and user-friendly choices. Combining WordPress with a reliable hosting provider like DreamHost can make the process even more accessible. In this comprehensive guide, we will walk you through the steps to set up a WordPress website with DreamHost, ensuring a smooth and successful launch.
Why Choose DreamHost for WordPress Hosting?
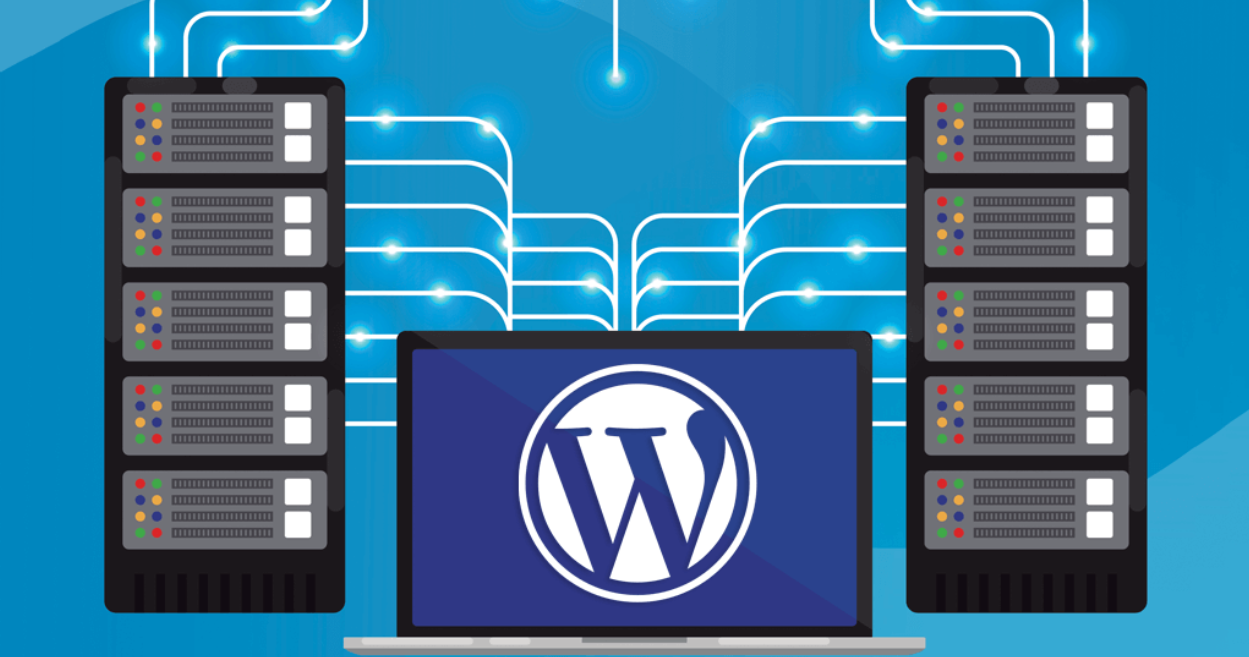
Before delving into the setup process, it’s essential to understand why DreamHost is an excellent choice for hosting your WordPress website. DreamHost is a reputable hosting provider with a long-standing history of excellent service. Here are some key reasons to consider DreamHost:
Outstanding Performance: DreamHost offers optimized WordPress hosting, ensuring fast page load times and excellent website performance.
Reliability: With a 100% uptime guarantee, DreamHost ensures your website is always accessible to visitors.
Security: DreamHost takes security seriously, providing built-in features and regular updates to protect your website from threats.
Ease of Use: The DreamHost control panel is user-friendly, making it easy for both beginners and experienced users to manage their websites.
24/7 Customer Support: DreamHost offers round-the-clock support via live chat, email, and a knowledge base to assist you whenever you need help.
Now that you know why DreamHost is a top choice for WordPress hosting, let’s get started with setting up your WordPress website.

Step 1: Domain Registration
The first step in building your WordPress website with DreamHost is to register a domain name. Your domain name is your website’s address on the internet, such as www.yourwebsite.com. Follow these steps:
Visit the DreamHost website (www.dreamhost.com) and click on “Get Started.”
Search for your desired domain name and choose an available option. DreamHost also offers domain name suggestions if your preferred name is taken.
Complete the domain registration process, providing your contact information and payment details.
Once you’ve registered your domain, you’re ready to move on to the next step.
Step 2: Selecting a Hosting Plan
DreamHost offers a range of hosting plans, including shared hosting, managed WordPress hosting, and VPS hosting. For the purpose of setting up a WordPress website, we recommend their managed WordPress hosting plan, which is optimized for WordPress performance.
Go to the DreamHost website and click on “Hosting.”
Choose the “WordPress Hosting” option.
Select the plan that best suits your needs. DreamHost offers various plans with different features and resources, so consider your website’s requirements when making your selection.
Complete the payment process to subscribe to the hosting plan.
Step 3: Installing WordPress
Now that you have registered your domain and selected a hosting plan, it’s time to install WordPress on your DreamHost hosting account. DreamHost makes this process straightforward.
Log in to your DreamHost account.
In the dashboard, navigate to “WordPress” and click on “One-Click Installs.”
Select the domain where you want to install WordPress and click “Install it for me now!”
Follow the on-screen instructions to set up your WordPress website, including choosing a username and password for your WordPress admin account.
Once the installation is complete, you will receive an email with your WordPress login details.
Step 4: Customizing Your Website
With WordPress installed, you can now start customizing your website to meet your needs. Here are some essential tasks to get you started:
Choose a Theme: Browse and select a WordPress theme that suits your website’s style and purpose. You can find free and premium themes in the WordPress theme repository or from third-party providers.
Install Essential Plugins: Extend the functionality of your website by installing essential plugins. Popular choices include Yoast SEO for search engine optimization, Akismet for spam protection, and Jetpack for site stats and security.
Create Important Pages: Create essential pages such as “About Us,” “Contact,” and a “Blog” page. Customize these pages with relevant content.
Set Permalinks: Go to the WordPress settings and configure your permalink structure to make your URLs SEO-friendly.
Customize Widgets: Use widgets to add additional content and features to your website’s sidebar or footer.
Optimize for SEO: Install an SEO plugin like Yoast SEO and optimize your content for search engines.
Step 5: Regular Maintenance
Maintaining your WordPress website is crucial for its long-term success. DreamHost makes this process easier with automated updates and excellent support. Here are some ongoing tasks:
Backups: Configure regular backups of your website to protect against data loss.
Updates: Keep your WordPress core, themes, and plugins up to date to ensure security and performance.
Security: Implement security measures, such as strong passwords, two-factor authentication, and security plugins like Wordfence.
Performance Optimization: Use caching plugins and optimize images to improve website speed.
Monitoring: Regularly check your website for issues and errors using tools like Google Analytics and Google Search Console.
Conclusion
Setting up a WordPress website with DreamHost is a straightforward process that offers numerous benefits. DreamHost’s reliability, performance, and support make it an excellent choice for hosting your WordPress site. By following the steps outlined in this guide, you can quickly create a professional and functional website that meets your needs and attracts visitors. Remember that maintaining your website is an ongoing process, so stay engaged and keep your content up to date for long-term success.